
Bayonne Superior Roofing handles roof leak repair in Bayonne, NJ, serving surrounding cities including Roselle Park, North Arlington, Guttenberg, East Rutherford and Rutherford. In 20+ years of chasing leaks through local attics and ceilings, the lesson has been the same every time: water rarely comes in where the stain appears, so the job is finding the real entry point before anyone picks up a tube of sealant.
That is why every leak call starts inside as well as on the roof. We look in the attic or the top-floor ceiling cavity, follow the water trail back along the rafters and decking, and then check the roof directly above that point. Only once the source is found and photographed do we price the repair.
The result is a fix aimed at the actual cause, whether that is a chimney, a pipe boot, a skylight curb, a valley, a party wall or the seam on a flat rear roof. If a leak turns out to be plumbing or condensation rather than the roof, we tell you that too, and you do not pay for roof work you do not need.
Where Roof Leaks Start
Chimney Leaks: Flashing, Crown and Cricket
Chimneys are the most common source of leaks on older pitched roofs. Water gets in where step flashing has rusted through, where counter flashing has pulled out of the mortar joint or reglet, and where a cracked chimney crown lets rain soak straight down into the masonry and out onto the ceiling below.
We replace failed step and counter flashing, repoint open mortar joints, repair or recast the crown and add a cap to keep rain out of the flue. On wide chimneys without one, a cricket or saddle on the uphill side stops water and leaves from piling up against the brick.
Plumbing Vents and Pipe Boots
Every plumbing vent that passes through the roof is sealed by a boot, and rubber boots crack and split in the sun after enough years. The leak usually shows up as a small stain on the ceiling near a bathroom or kitchen, and it often gets worse slowly enough that it goes unnoticed for months.
We replace cracked boots with new rubber or lead flashing boots, set under the upper shingles and over the lower ones so water sheds across them. Exhaust fan hoods and attic vents get the same check, because a loose vent hood leaks in exactly the same way.
Skylight Leaks
Skylights leak at the curb flashing, at the seal between the glass and the frame, or through condensation that forms on the inside in cold weather and drips down the shaft. Each cause has a different fix, so we check which one it is before recommending anything.
Flashing leaks are repaired by replacing the step and head flashing around the curb with a proper kit. When an older skylight’s glass seal has failed or the frame has warped, replacement with a new curb-mounted or deck-mounted unit is usually the lasting fix.
Valleys and Roof-to-Wall Joints
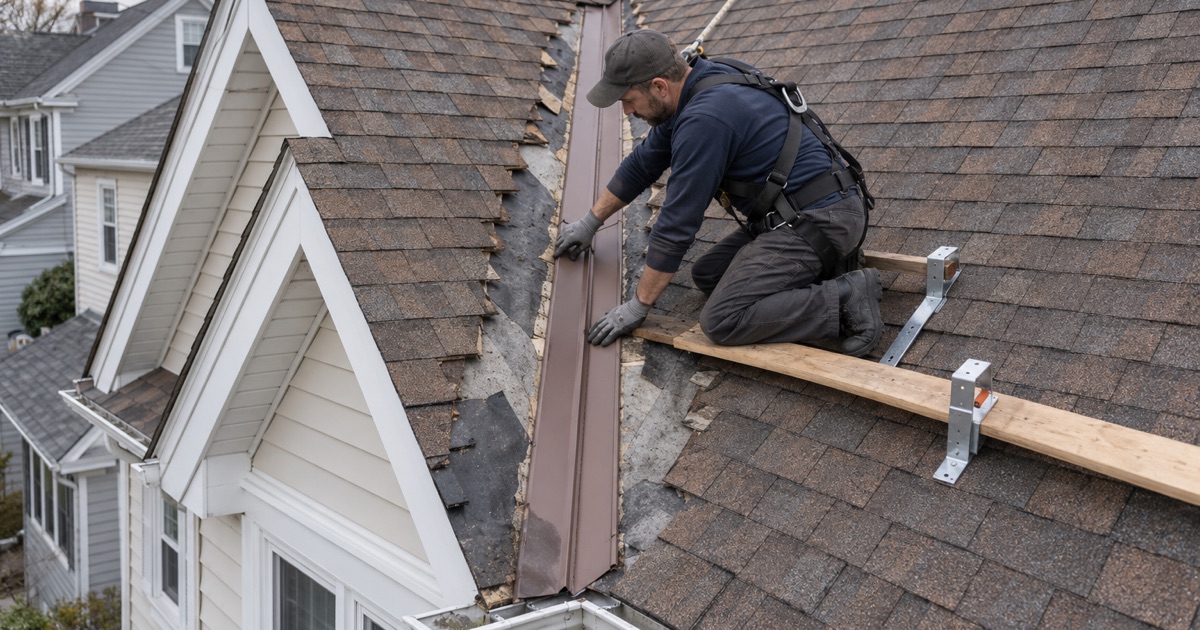
Valleys carry the water from two slopes, so a worn valley or one blocked with leaves and grit overflows under the shingles in heavy rain. Roof-to-wall joints at dormers and second-story walls leak when the step flashing is missing or when there is no kick-out flashing to turn water into the gutter.
We rebuild valleys with ice and water barrier underneath and new metal or woven shingles on top, and we replace step and apron flashing along walls. Where the siding hides the flashing, we remove and reset the lower courses so the new flashing can be installed correctly.
Leaks on Attached and Two-Family Houses
Party Wall and Shared Parapet Leaks
On attached houses and houses built close together, a leak along the wall you share with a neighbor can start on either roof. Water travels along a shared parapet, a common gutter or the flashing that ties the two roofs together, then shows up on whichever side has the weaker ceiling.
We trace the line on both sides, with permission from both owners, before blaming anyone’s roof. That protects you from paying for a neighbor’s problem and keeps a simple repair from turning into a dispute that leaves the leak running.
Where the Pitched Front Meets the Flat Rear
Many two-family houses have a pitched roof in front and a low-slope roof behind it, and the joint between the two is a frequent leak point. The shingles, the membrane and the flashing all meet in a small area that sees a lot of water running off the steeper roof.
We check the transition, the membrane seams and the edge of the flat roof together, because patching one while the next detail over is failing only moves the leak a few feet.
Box Gutter and Scupper Overflows
Box gutters built into the eave and scuppers through a parapet wall hold water close to the building. When they clog or their linings crack, water backs up into the wall or under the roof edge and leaks inside, often during the heaviest storms.
We clear them, reline or reflash the failed sections and then test them with water before calling the repair finished, so the overflow is fixed rather than just cleaned out for another season.
Commercial Roof Leak Repair
Membrane Seams, Blisters and Punctures
On commercial and mixed-use flat roofs, leaks come from open seams, blisters that have split, punctures from foot traffic and shrinkage that pulls the membrane away from the edges. Water travels under the membrane and through wet insulation, so the leak inside can be well away from the damage.
We locate the wet area, cut out and replace saturated insulation where needed and repair modified bitumen, EPDM, TPO or PVC with compatible materials, so the patch bonds properly and does not become the next leak.
Rooftop Units, Hatches and Penetrations
HVAC curbs, exhaust fans, pipe stacks and roof hatches are each a hole in the roof, and their flashing takes a beating from service visits and vibration. We reflash the curbs, replace pitch pans and pipe boots and add walkway pads where technicians cross the roof to reach the units.
Leaks That Are Not the Roof
Condensation, Plumbing and Masonry
Not every wet ceiling is a roof problem. Condensation forms on cold roof sheathing when warm, moist air leaks into the attic, especially from bathroom fans that vent into the attic instead of outside. Plumbing leaks show up on dry days. Water can also enter through cracked brick, failed window caulking or a wall cap and show up near the roof line.
We check for each of these before any roof work is priced. If the cause is not the roof, we tell you what we found and which trade should handle it.
Our Roof Leak Repair Process
Step 1: Stop the Water
If water is coming in, the first step is a temporary repair or a secured tarp to stop more damage while the source is traced. Buckets and towels inside only buy time; the water has to be stopped at the roof.
Step 2: Trace the Leak to Its Source
We follow the water from the ceiling up through the attic and onto the roof, and we photograph each step so you can see the path for yourself. On a two-family house, the upstairs unit is told ahead of time when we need to look in the attic.
Step 3: Repair the Entry Point
The repair is made at the cause, using flashing, boots, membrane or masonry rather than surface sealant. Any rotted decking found around the entry point is shown to you before it is replaced.
Step 4: Confirm and Clean Up
Where possible we water-test the repaired area to confirm the leak has stopped. Then we clean the yard, sidewalk and gutters and run a magnet sweep for roofing nails before we leave.
- 20+ Years in Roofing
- Line-Item Written Estimates
- Daily Nail-Magnet Cleanup